How to create a VM from a Bitnami stack

In this series of ‘how to’ blogs, we take a deep dive into the more technical aspects of our platform and how to use them. 

First up: Creating a VM in whitesky.cloud’s cloud through Bitnami. 

The problem

You have found the perfect VM stack on Bitnami and want to use it to create a VM in the whitesky.cloud cloud.

The solution

Using S3 as the storage location for VM’s that are downloaded from e.g. Bitnami. These are .ova files which you can use when creating a VM.

Note

This is a great way to install a combination of a VM and an application. However, if you’re looking for a fully automated solution, we’re happy to tell you that there are other ways to deploy with support for cloud.init.

Getting the .ova file from Bitnami

If you don’t know Bitnami yet, it’s a good idea to check it out. It’s a household name that contains a lot of VM/application combinations which can be useful to your business. Let’s find out how to use a Bitnami WordPress stack. virtual machine

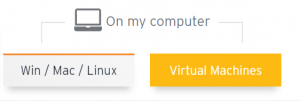
Get started by choosing the Virtual Machines option on the stack page.

Getting started

This post will not go into technical details. However, if you’re looking for those, you can find them in the documentation.

In order to continue you need to have a Cloudspace and an Objectspace.

Upload the Stack .ova file to S3

Once you’ve downloaded the file from Bitnami, it’s important that it’s uploaded to your S3 Objectspace. 

There are several possible solutions to upload an .ova file to S3, for example Cloudberry Explorer, Cloudberry Drive or Cyberduck.

My preference is to use Cloudberry Drive as it’s stable and convenient. Let me show you how I created a drive to our S3 Objectspace location.

Cloudberry Drive screenshot

Creating a VM from an S3 location

After the file upload has succeeded you are able to create a VM from an .ova file which is stored in your own S3. These are the steps to create a VM:

  1. Go to your Cloud spaces
  2. Pick a Cloudspace
  3. Pick the create VM option
 
Below you can find the options that will appear. 
whitesky.cloud import from s3 screenshot

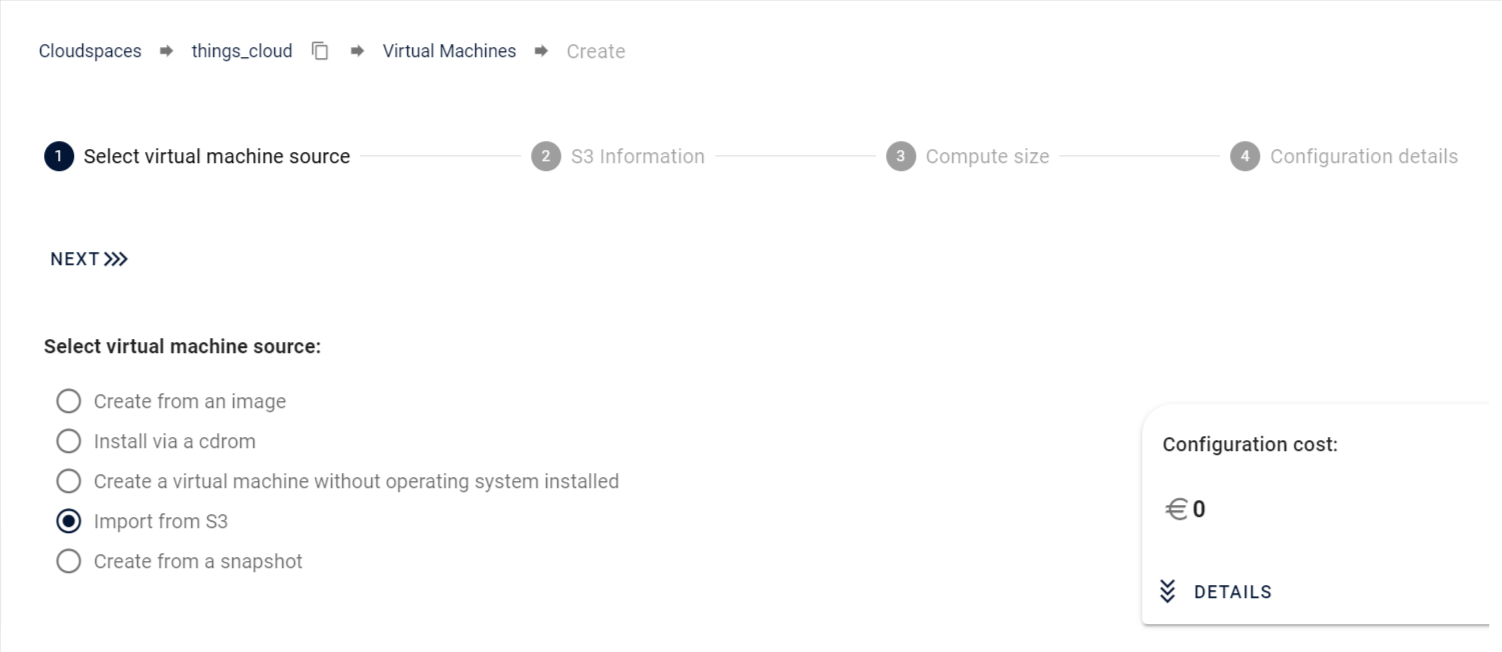
Choose 'Import from S3'. Once you've done that, fill in the following settings:

whitesky.cloud S3 configuration parameters

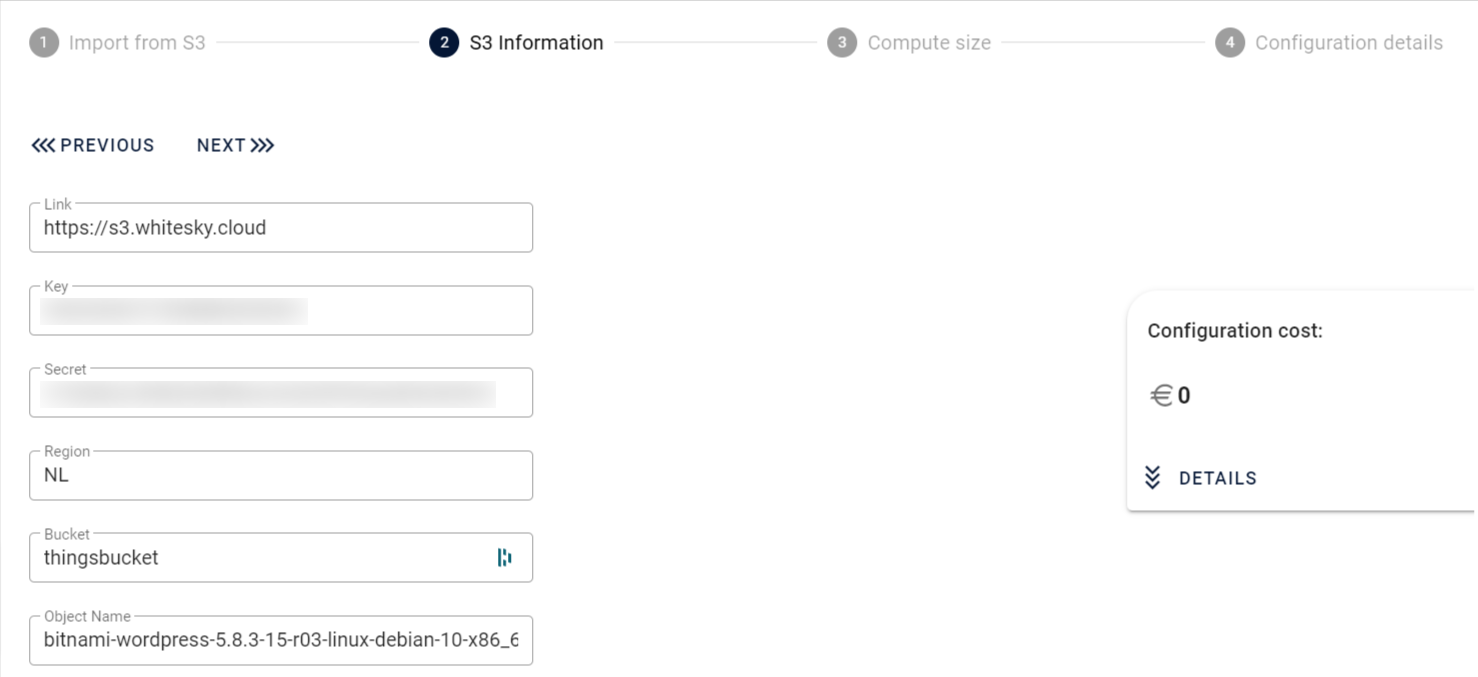
  • Link: this is the link to the S3 Objectspace you've created earlier
  • Key and secret: these are supplied to you in the portal when an S3 Objectspace is created
  • Bucket: the name of the bucket you created before
  • Object name: the full name and extension (.ova) of the Bitnami stack that was uploaded (in this case the WordPress stack)

Once you've filled these in you can proceed to the following step.

whitesky.cloud compute size settings

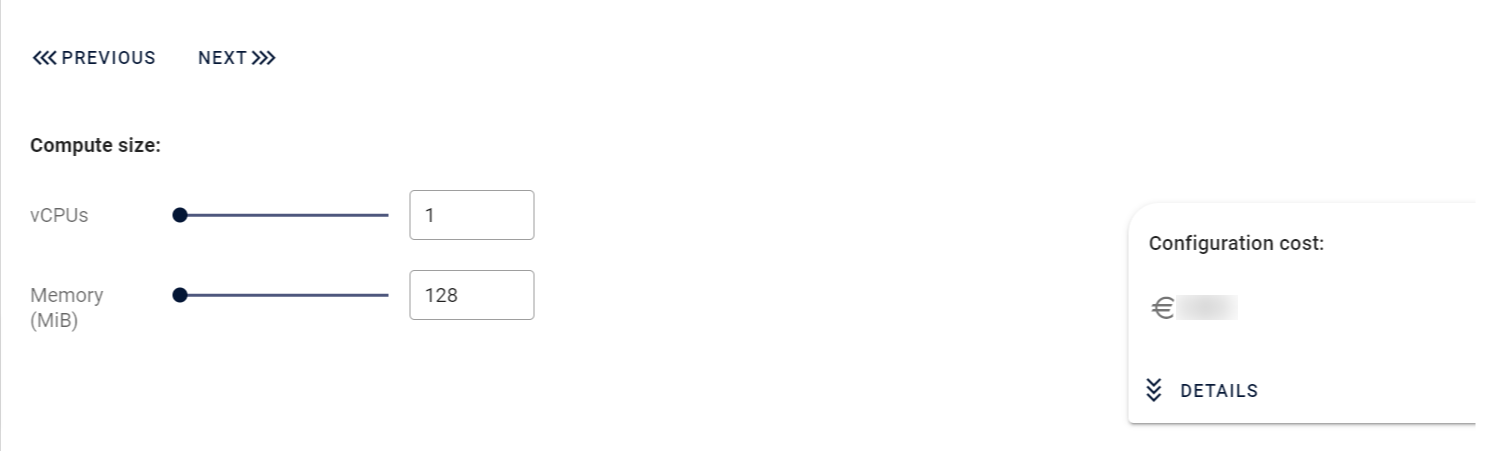
  • Compute Size: these are the basic settings which determine the performance of your VM (you can easily adapt these later on)
  • Configuration cost: the monthly cost of the VM you're creating

Once you've chosen these parameters, go to the next step.

whitesky.cloud VM machine details

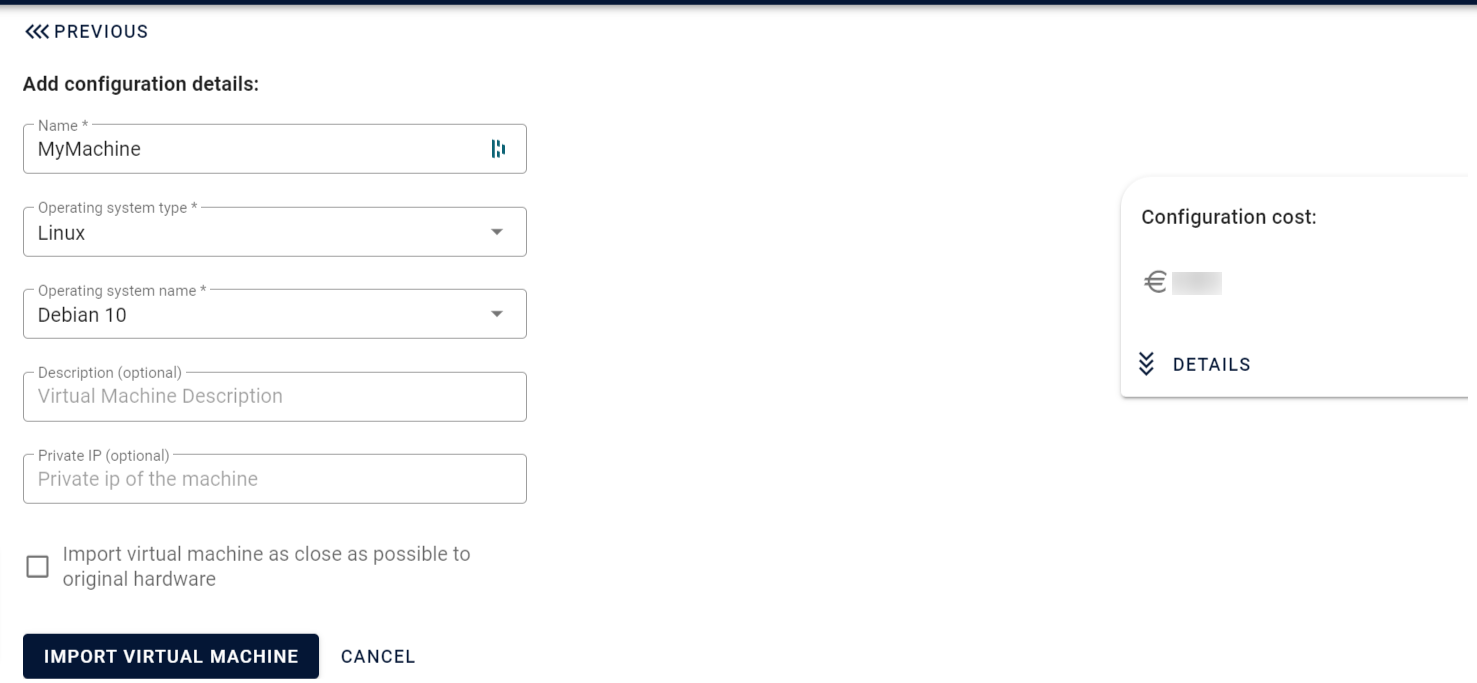
  • Configuration details: these settings determine the OS type and OS name you want for this VM

After setting all the parameters you can start importing the VM based on the Bitnami stack. Choose 'import virtual machine' to create the VM.

whitesky.cloud importing VM progress screenshot
VM settings

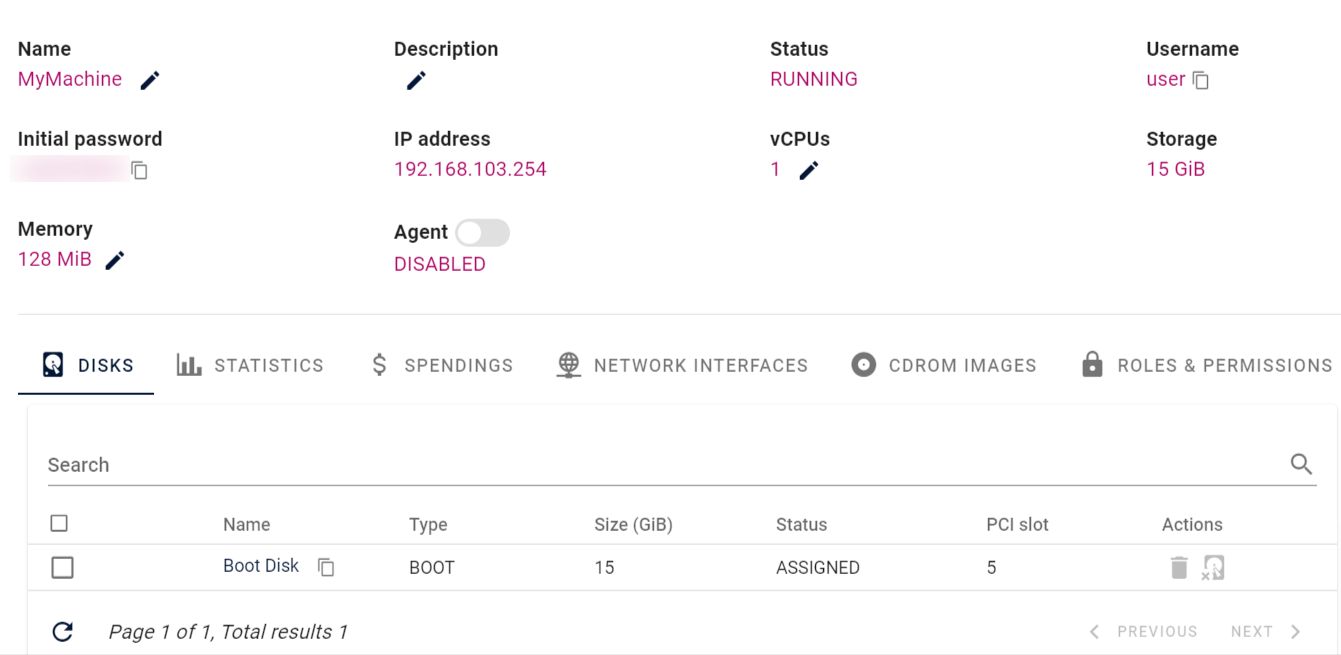
Once the creation of the VM is finished this screen will appear.
Performance parameters like Memory and vCPU's can be tweaked on the fly.

whitesky.cloud VM details

In order to configure the Bitnami stack, you need to log into the console. You can find the option 'console' in the top navigation bar.

Overall Bitnami stacks are easy to configure and to use. By using the .ova file format and S3 it becomes pretty easy to deploy a VM on the whitesky.cloud cloud.

Like this article?

Share on Facebook
Share on Twitter
Share on Linkdin
LOGIN

Don’t have an account yet? Register and we’ll grant you access to our marketing and sales assets!